
Last updated September 10, 2026
Full 25-point door and opener safety check with every visit - springs, cables, rollers, tracks, and your LiftMaster or Chamberlain opener included
You get a price before we start. It does not change when the truck arrives.
 Before
 After
After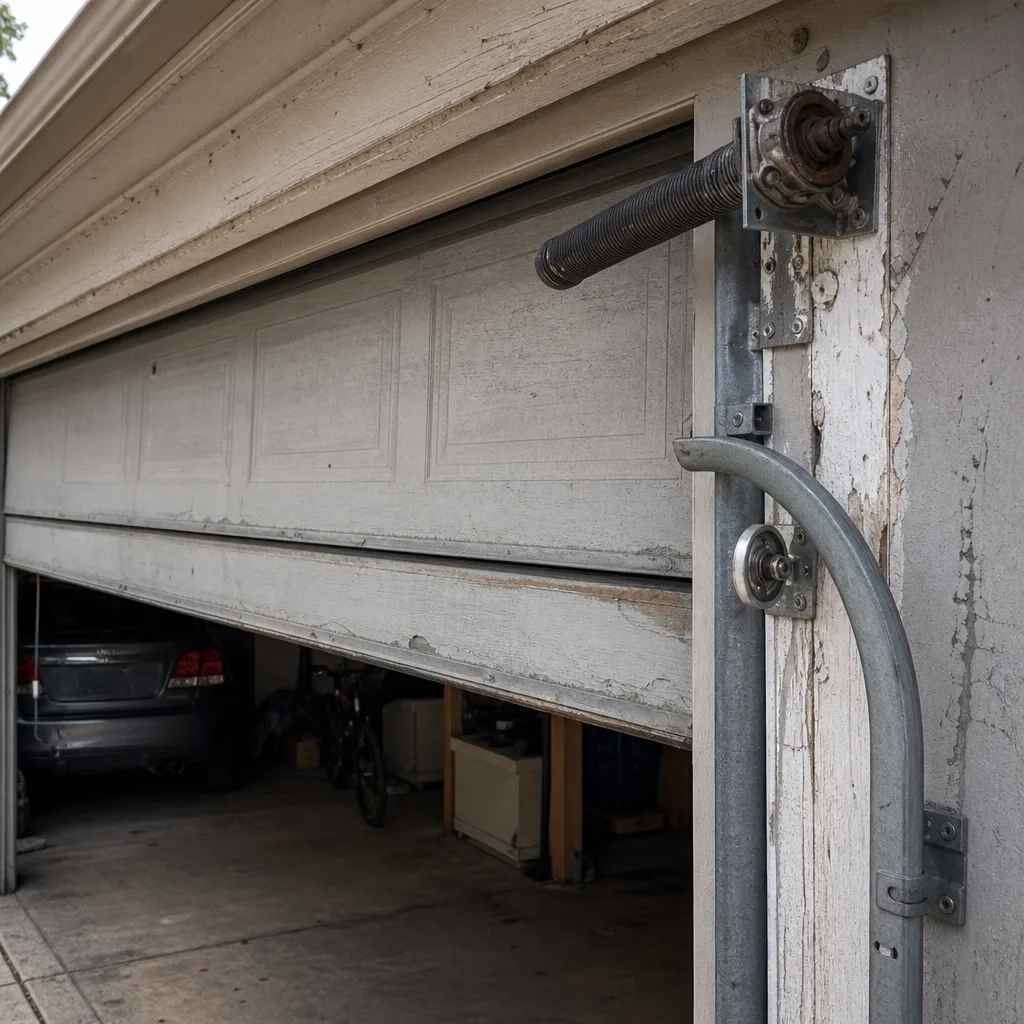 Before
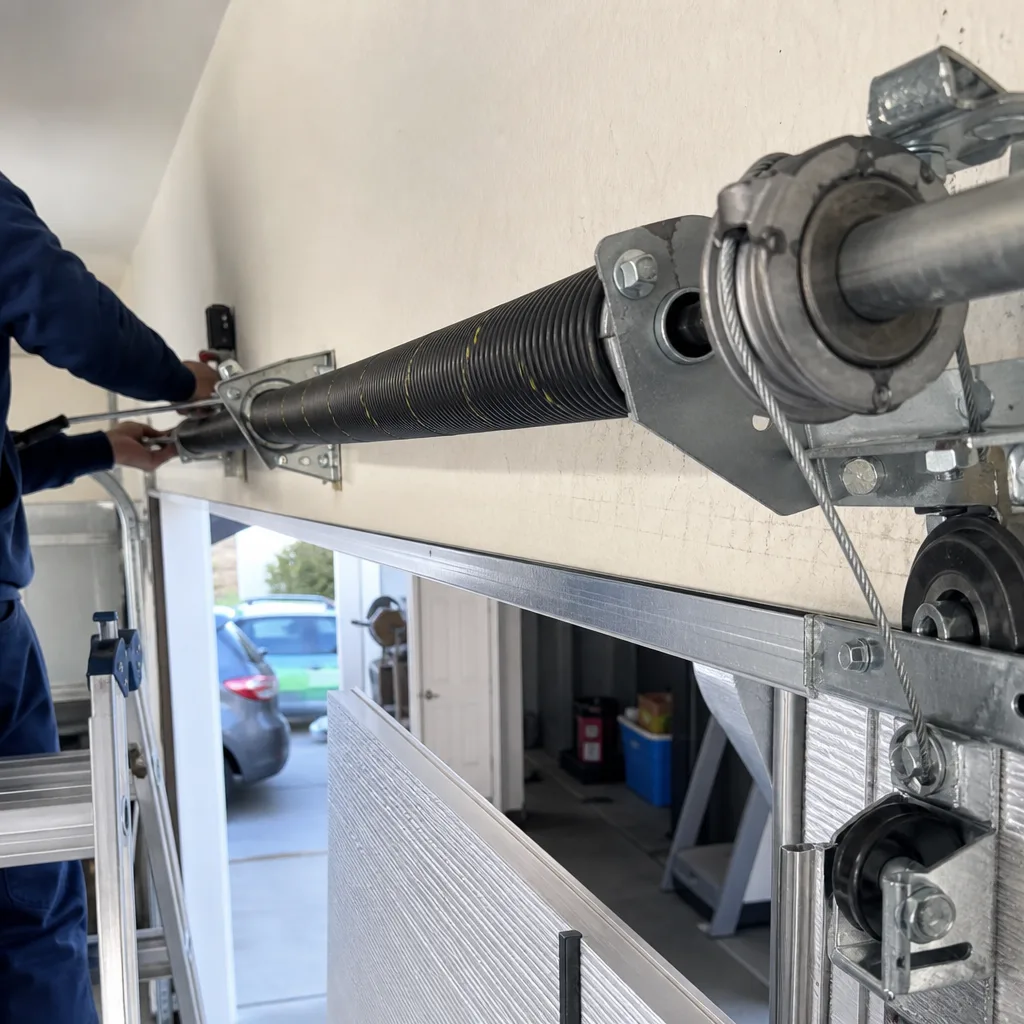 After
After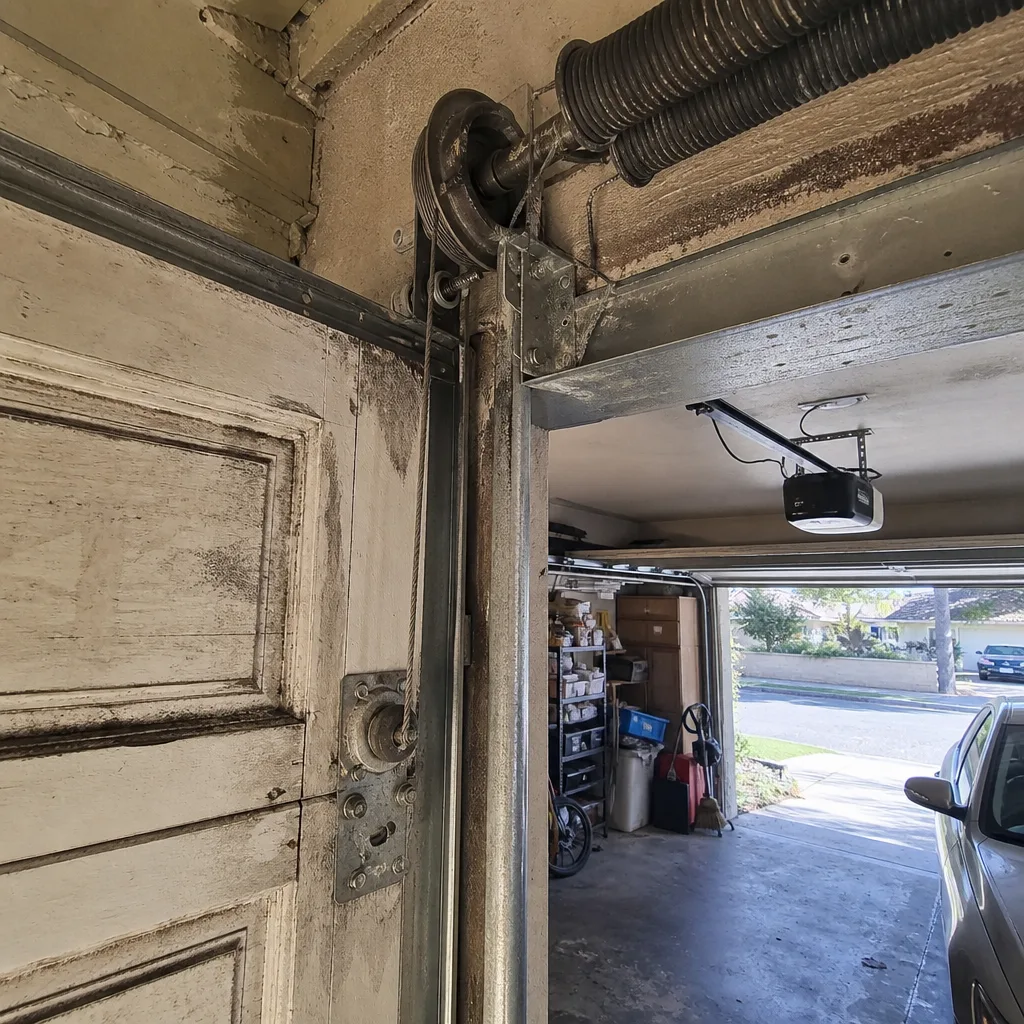 Before
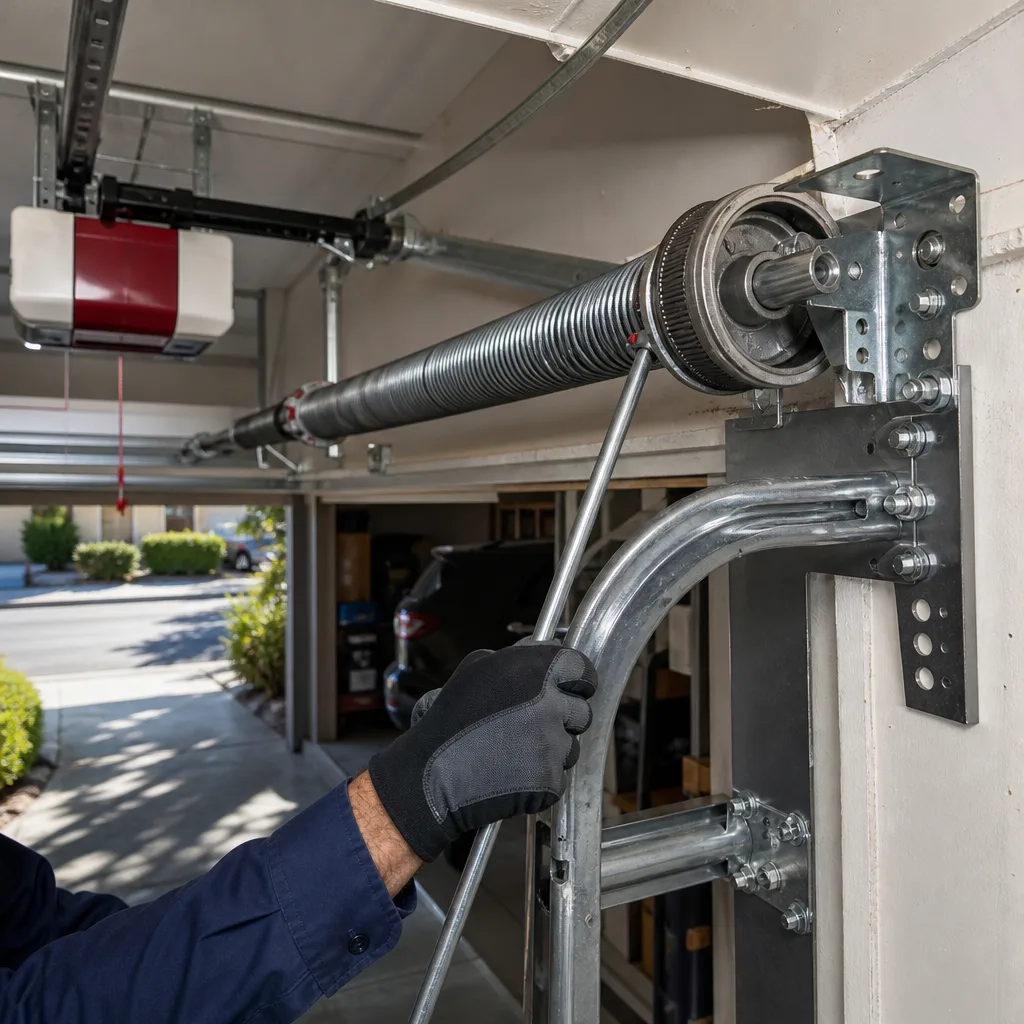 After
AfterDIY vs Professional Garage Door: The Tarzana Homeowner’s Decision Guide
Here’s a number that surprises most Tarzana homeowners: a standard residential torsion spring holds between 150 and 200 pounds of torque when fully wound. That’s not a typo. That’s the stored energy sitting above your car every single day, waiting to release in about a tenth of a second if the wrong bolt slips. This guide is about drawing an honest line between what you can safely handle on a Saturday morning and what needs a licensed pro who’s seen what happens when a spring lets go. If you live in Tarzana, you’ve got specific weather, specific code requirements, and specific wear patterns on your door hardware that affect that line. We’ll walk through all of it.
Quick Answer
DIY garage door work is genuinely safe and worthwhile for about four tasks: lubrication, sensor alignment, remote reprogramming, and weatherstrip replacement. Everything else involving springs, cables, or the bottom brackets under tension is a professional job, not because you lack skill but because the stored energy doesn’t care about skill. In Tarzana, the decision for most homeowners comes down to this: if the part moves when the door moves, call a pro. If it doesn’t, you can probably do it yourself.
Table of Contents
- What’s Actually Safe to DIY on a Tarzana Garage Door
- What Requires a Licensed Tech No Matter How Handy You Are
- The Permit Reality in Los Angeles County
- What You Actually Save vs. What a Botched Repair Costs
- Brand Notes for Tarzana Homes: Genie, Clopay, Amarr, Wayne Dalton
- How to Be a Smart Assistant on a Professional Job
- Common Mistakes to Avoid
- When to Call a Professional
What’s Actually Safe to DIY on a Tarzana Garage Door
Let’s start with the honest truth: there are jobs on a garage door that don’t require any special tools, any special knowledge, or any risk. We’ll tell you exactly which ones, because we’d rather have Tarzana homeowners doing the safe stuff themselves than paying for something that takes ten minutes. Here’s the short list.
1. Lubrication
This is the number one underrated maintenance task in Tarzana, and it matters more here than in cooler climates. Our dry summers and Santa Ana winds pull moisture out of metal parts faster than coastal neighborhoods. A can of white lithium grease for the chain or screw drive, plus a silicone spray for the rollers, hinges, and springs, costs under $20 and should be applied every six months. You’re not rebuilding anything. You’re just keeping the steel from grinding against itself. If your door sounds like a bag of hammers when it opens, you waited too long.
2. Sensor Alignment
Those little photo eyes near the bottom of the door tracks get kicked, bumped, and knocked out of line constantly, especially in Tarzana garages that double as storage for bikes, trash cans, and kid gear. If your door starts to close, reverses, and the opener lights blink, that’s usually a sensor that’s no longer pointing at the one across the door. Loosen the wing nut, aim the eye until the indicator light goes solid, tighten it back. No danger, no special tools, just patience. One thing to check first: wipe the lens with a dry cloth. Half the time it’s just dust.
3. Remote Reprogramming
Whether you need to clear out an old opener code after buying a used car or you just want a fresh remote to work, this is a button-push job. Every major opener brand has a specific sequence, usually involving a “Learn” button on the motor unit. You press it, then press the remote button, and you’re done. The one caution: don’t stand on a ladder under a moving door while you’re doing it. Park the door in the down position first.
4. Weatherstrip Replacement
The rubber strip along the bottom of the door and the vinyl trim along the sides are wear items, exactly like wiper blades. Tarzana’s summer heat cracks rubber faster than you’d think, and once the bottom seal is split, you’re letting in dust, leaves, and in rare cases, rodents looking for shade. You can buy a replacement seal at any hardware store for $25 to $40. Remove the old one, slide or screw the new one in, and you’ve just saved a service call. This is a perfect example of the DIY line we mentioned: the weatherstrip doesn’t carry tension, doesn’t hold the door up, and doesn’t affect the spring system. It’s just rubber.
If you’re unsure whether a task fits on the safe list, call us. Otto will tell you over the phone whether it’s something you can do yourself or whether you need someone out. That’s part of the L.O.C.A.L. approach: Local roots means being straight with neighbors, even when the answer is “you don’t need us for that.”
What Requires a Licensed Tech No Matter How Handy You Are
Here’s where we draw the hard line. There are three components on a garage door that hold stored mechanical energy, and no amount of YouTube confidence changes what happens when that energy releases in the wrong direction. The risk isn’t about your skill level. It’s about physics, and physics doesn’t negotiate.
1. Torsion Springs
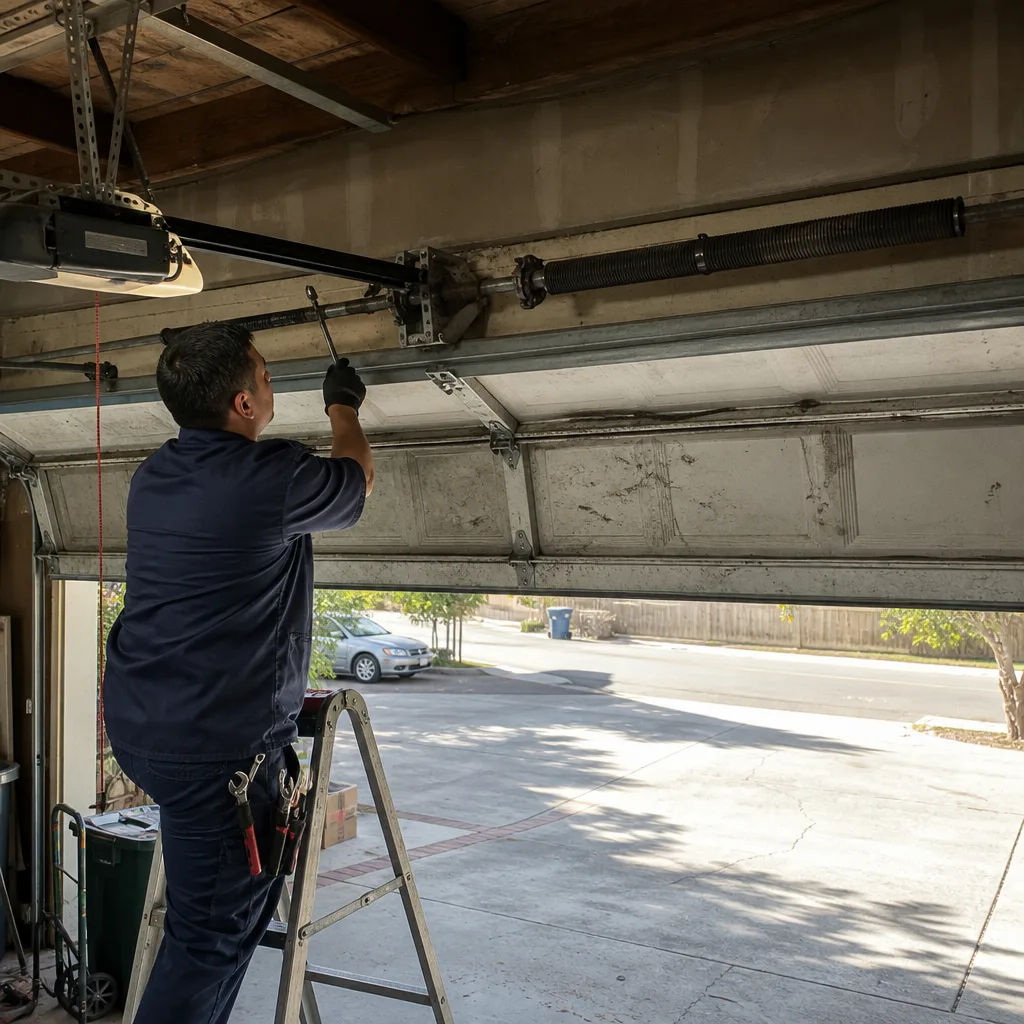
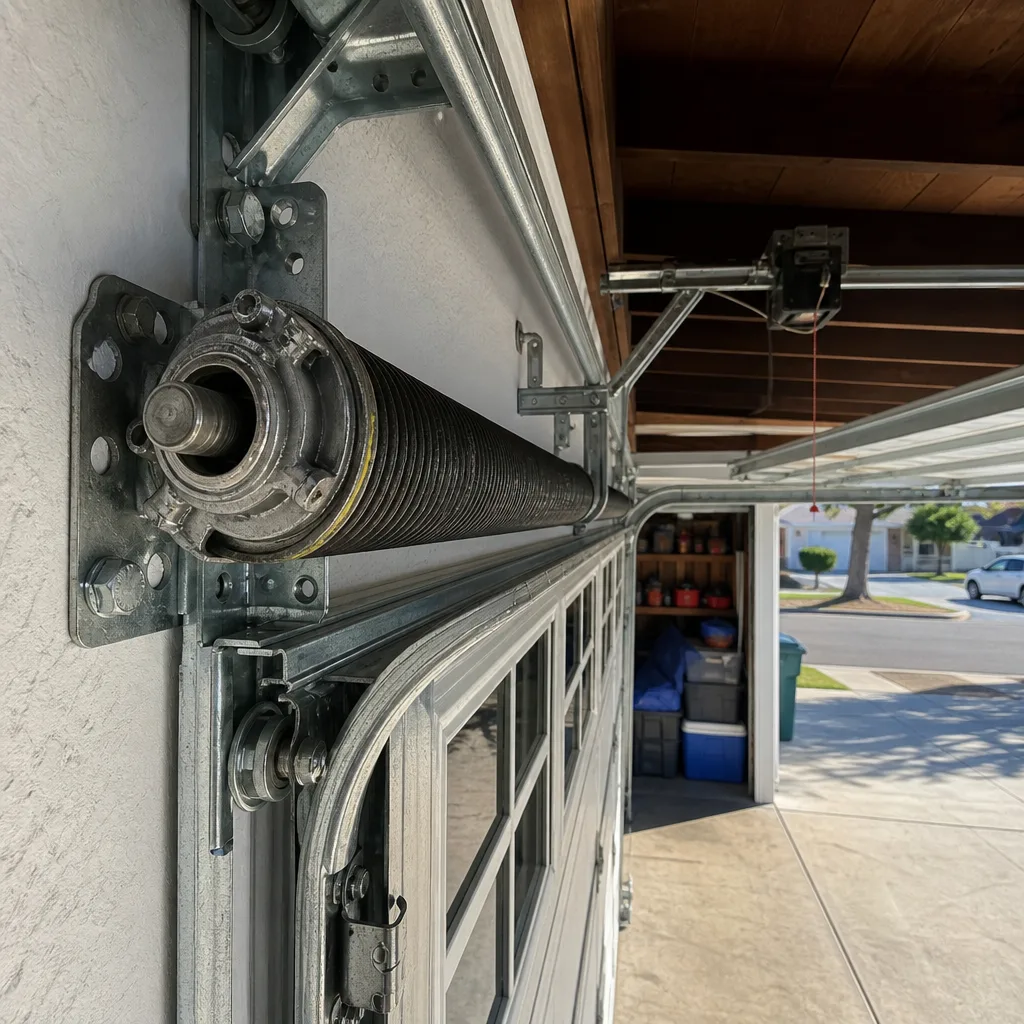
This is the big one. Torsion springs sit on a bar above the door and store the torque that counterbalances the door’s weight. When one breaks, you’ll hear a sound like a gunshot from inside your garage. The temptation is strong: a replacement spring is $80 at the hardware store, and a pro charges a few hundred. Seems like a simple swap. It isn’t. These springs are wound under 150 to 200 pounds of torque, and winding them requires winding bars, locked-off tension, and a specific sequence that leaves zero margin for error. The last thing a homeowner should be doing is standing on a ladder, under load, while a spring under 200 pounds of torque sits inches from their face. We’ve seen the aftermath of a winding bar slipping. It is not pretty, and it’s not rare. In Tarzana, spring failures peak in the summer because heat stress accelerates metal fatigue, which means the season when you’re most motivated to fix it yourself is also the season when the failure rate is highest. A door is 200 pounds riding on two springs. Respect it.
2. Lift Cables
If a torsion spring is the muscle, the lift cables are the tendons. They run along each side of the door, connected at the bottom to a bracket that’s under constant tension from the spring system. When a cable frays or snaps, the door can drop unevenly, and the remaining cable is now holding more than its share of the load. Replacing a cable means unwinding the spring tension first, and that brings you right back to the stored energy problem. There is no safe way to do this without proper training and the right tools.
3. Bottom Brackets
This is the one most people never think about until it fails. The bottom brackets bolt to the lowest panel and anchor the lift cables. Those bolts are under the same tension as the cables. If you attempt to remove or replace one while the spring is still wound, the bracket becomes a projectile. Even if the spring is broken and you think the system has no tension left, there’s often residual load you can’t see or feel. This is a job for a licensed tech, every time.
One final note on this section: California requires a contractor’s license for any work involving the spring assembly, cables, or structural brackets on a functioning garage door. That’s not us being protective of our trade. That’s state law, written in blood.
The Permit Reality in Los Angeles County
Here’s something a lot of Tarzana homeowners don’t realize until it’s too late: replacing a garage door in Los Angeles County triggers a building permit requirement, regardless of whether you do it yourself or hire a pro. For the full picture, see our guide on Garage Door Permits, Codes & Inspections in CA: What You Need to Know. The county treats a garage door as part of the building envelope, which means structural anchoring, wind-load resistance, and fire-rated separation from the living space all come under the permit umbrella.
What does this mean for a DIY-minded homeowner? First, the permit isn’t optional just because you’re not charging yourself for the labor. If you pull the old door and install a new one yourself, you’re still responsible for the permit. Second, and this is the part that gets people, if you do unlicensed work on a permitted job and something goes wrong, your homeowner’s insurance has a very specific exclusion for that scenario. The insurance company will ask who did the work. When the answer is “I did,” and there’s no license and no permit, the claim gets denied and you’re holding the bag for the damage. A garage door falling on a car is one thing. A garage door falling on a person is something else entirely.
We’re not saying this to scare you off from owning your home maintenance. We’re saying it because Tarzana is a community where people look after their property values, and a compliant door installation protects you when you eventually sell. The good news: a licensed contractor handles the permit paperwork as part of the job. That’s part of why going with a pro makes sense on installation work, even if you’re perfectly capable of the DIY tasks we listed earlier. For the full picture on new door work in Tarzana, see our Garage Door Installation in Tarzana guide.
What You Actually Save vs. What a Botched Repair Costs
Let’s talk real numbers, because “DIY saves money” is true in some cases and an expensive fairy tale in others. Tarzana has a specific cost environment, and you should know what you’re actually saving before you decide which side of the line a given task falls on.
The Safe DIY Tasks: Real Savings
| Task | DIY Cost (Parts) | Pro Cost (Typical Tarzana Range) | Actual Savings |
|---|---|---|---|
| Lubrication | $15-$25 | $75-$125 service call | $50-$100 every 6 months |
| Sensor alignment | $0 | $75-$150 service call | $75-$150 per incident |
| Remote reprogram | $0 (or $30 for new remote) | $75-$100 service call | $75-$150 per remote |
| Weatherstrip replacement | $25-$40 | $100-$175 installed | $75-$135 |
Those are genuine savings. Do those tasks yourself, every time. We’ll cheer you on.
The Botched DIY Tasks: What It Costs to Undo
Now the other side. A torsion spring that’s wound incorrectly doesn’t just fail silently. It can ruin the spring itself, strip the winding cone, bend the shaft, or snap a cable. That $80 spring you bought is now scrap metal, and the damage extends to parts that weren’t broken before you started. A typical botched spring repair in Tarzana ends up costing $400 to $700 to undo, versus the $180 to $340 a proper spring replacement would have cost in the first place. We’ve seen doors come off their tracks because a homeowner loosened the wrong bolt with the spring still wound. That’s a $600 to $1,200 repair, and it started as a $250 spring job. The math is not your friend here.
The rule: if the part you’re touching holds tension, the DIY savings are illusory. You’re not saving money. You’re gambling that you’ll be the one in a hundred who gets lucky. And lucky is a terrible business model.
For a complete breakdown of repair costs in the area, our Garage Door Repair in Tarzana page has line-item pricing that reflects what we actually quote on the phone, not a national average.
Brand Notes for Tarzana Homes: Genie, Clopay, Amarr, Wayne Dalton
Every brand has its quirks, and after twenty years of working on doors in the San Fernando Valley, we know which ones show up most often in Tarzana garages and what their common failure points are. Here’s what you should know about a few of them.
Genie openers are popular in older Tarzana homes, especially the screw-drive models from the 1990s and early 2000s. They’re workhorses, but the screw-drive rail wears over time, and the traveler assembly eventually needs replacing. The good news is that Genie parts are widely available, and the openers are usually worth repairing rather than replacing if the motor still runs clean. We stock Genie repair parts on the truck.
Clopay doors show up everywhere in Tarzana, and for good reason. They’re well-built and have stood up to our heat better than some other brands. The weak point is the bottom panel on older Clopay doors, which tends to rust from the inside out when the weatherstrip has been compromised for a few years. If you’re seeing rust streaks on the bottom panel of your Clopay door, that’s the warning sign.
Amarr and Wayne Dalton both have strong presence in newer Tarzana construction. Amarr steel doors are solid, but the torsion systems on some models use a proprietary spring design that requires specific replacement parts. Wayne Dalton is the brand to watch with the TorqueMaster system, an internal spring design that’s less intuitive for DIYers and has different failure characteristics than standard exposed springs. Neither brand is bad. Both just have their own rules.
The takeaway here isn’t to avoid any of these brands. It’s to know that interchangeability is a myth. A Genie travel module doesn’t fit a Chamberlain opener. A Wayne Dalton TorqueMaster spring isn’t a swap for a standard torsion spring. When you’re buying parts for a DIY task like a remote or a sensor, match the exact model number on the motor unit or the door panel. When you’re calling a pro, ask if they carry your brand’s parts on the truck. We do, because Tarzana has a healthy mix of all of them, and there’s nothing worse than a tech showing up, seeing the brand, and saying “we’ll have to order that.”
How to Be a Smart Assistant on a Professional Job
Even when you hire a pro, you’re not a bystander. You’re the person who lives with the door, and you know things about it that a tech walking up the driveway won’t know. Here’s how to be the best kind of customer: informed, observant, and clear-eyed about what you’re paying for.
1. Know the Symptoms, Not Just the Sounds
Before you call, take a minute to observe exactly what the door does. Does it open but not close? Does it close but then reverse halfway? Does it shake on the way up? Does it make noise only at one point in the cycle? The more specific you are on the phone, the better the tech can diagnose, and the better Otto can quote you a number he’ll hold. “It’s broken” gets you a service visit. “It shudders on the way up, then smooths out once it’s fully open” gets you a diagnosis and an honest price range before anyone even gets in the truck.
2. Ask About Cycle Count
Torsion springs have a rated life measured in cycles, where one cycle is one open and one close. A standard spring is rated for 10,000 cycles. A high-cycle spring is rated for 25,000 or more. When a tech is replacing a spring, ask what cycle rating your old spring had and what you’re getting in the new one. We count spring cycles the way you count tire miles, and we’ll tell you what’s left on yours before we replace anything. If a pro can’t answer that question, you might have the wrong pro.
3. Watch the Work, Ask the Question, Get the Explanation
After the job is done, the tech should be able to walk you through what was wrong, what was replaced, and why the door behaves differently now. You don’t need to understand every detail of spring engineering. You do need to understand the basics: what failed, what was replaced, what the new part’s rated life is, and what you can do to make it last. If the tech is in a hurry to leave, that’s a red flag. The person who fixed your door should be willing to explain the work. That’s accountability, and accountability is part of the L.O.C.A.L. code we’ve worked under since 2004.
4. Get the Written Guarantee
Every professional job should come with something in writing. Not a verbal “if anything goes wrong, call me.” Something on the invoice. That’s the difference between a handshake and a guarantee you can actually use. The 90-Day Done Right Promise is written on every invoice we produce, and one call brings Otto back, no runaround. Whatever company you use, get that promise in writing.
Common Mistakes to Avoid
- Winding a torsion spring with a screwdriver. This is the most common DIY injury we hear about in Tarzana, and it’s the one that sends people to the ER. Winding bars are the only acceptable tool, and even then, the work shouldn’t be DIY. A screwdriver will slip, the spring will unwind in a fraction of a second, and the bar becomes a missile.
- Replacing a sensor without checking the wiring first. Half the sensor issues we see are simple wiring problems: a chewed wire, a loose connection, or a pin that’s pulled out of the plug. The sensor itself is usually fine. Before you buy a new sensor, trace the wire and check the connections.
- Ignoring a squeak for months. A door that squeaks is a door that’s telling you something: the rollers or hinges are dry, and the friction is wearing parts faster than it should. In Tarzana’s dry heat, this is more common than in humid climates. Lubricate every six months, and the squeak won’t turn into a failure.
- Buying parts by brand name alone, without the model number. We said it before and we’ll say it again: “Genie remote” isn’t a part, it’s a category. The exact model number on the motor unit determines which remote will actually pair. Buy the wrong one and you’ve spent $40 on a paperweight.
- Unplugging the opener and expecting that to make spring work safe. The opener motor is not the source of the danger. The springs hold tension even with the opener unplugged, even with the door in the down position, and even when one spring is broken. Unplugging the opener does nothing to release that tension.
- Waiting until the door is actively failing to get a second opinion. If you have a written estimate and the number seems high, get a second opinion before you authorize the work. We offer a Free Second Opinion on any written estimate with no trip charge inside our home county. That’s a standing offer, not a promotion.
When to Call a Professional
If your door makes a loud bang and won’t open, that’s a broken spring, and it’s a professional job. If the door is crooked in the opening, hanging higher on one side, or grinding against the track, that’s a cable or bracket problem, and it’s a professional job. If the door won’t stay open or slams shut on the way down, that’s stored energy behaving unpredictably, and it’s a professional job. If the bottom bracket has pulled away from the panel, that’s the most dangerous failure on a garage door, and it’s a professional job. None of these are about your competence. They’re about the hazard. Otto’s Garage Door offers free estimates in Tarzana, and the quote you get on the phone is the number you’ll see on the invoice. Call (818) 431-2466 and talk to a real person, often Otto himself.
If you’re dealing with the opener rather than the door itself, our Garage Door Opener in Tarzana page covers what’s repairable and what’s better replaced. And if you just want the full picture of residential garage door work in the area, start with the Garage Door Repair in Tarzana guide.
Frequently Asked Questions
A single torsion spring replacement in Tarzana typically costs between $180 and $340, depending on the spring’s cycle rating and whether we’re replacing one or both springs. We quote the exact number on the phone before we ever get in the truck, and that number doesn’t change at the door. Call (818) 431-2466 for a free estimate on your specific door.
No. Torsion springs hold 150 to 200 pounds of torque even when the door is closed, and releasing that tension without the right training and tools is one of the most dangerous DIY tasks a homeowner can attempt. This is a California-licensed contractor job, every time, regardless of your experience level.
If the opener runs clean and the issue is a worn gear, a traveler, or a sensor, repair usually makes sense and costs far less than replacement. If the motor is struggling, burning out capacitors, or the unit predates rolling-code security (roughly before 1995), replacement is the better call. We’ll tell you honestly which side of that line your opener falls on.
Yes. Los Angeles County requires a building permit for garage door replacement, and a licensed contractor handles that paperwork as part of the job. If you do the work yourself without a permit and something fails, your homeowner’s insurance may deny the claim.
A standard 10,000-cycle spring typically lasts 7 to 10 years in Tarzana, given the heat-stress acceleration we see every summer. A high-cycle 25,000-cycle spring can last 15 to 20 years. We count spring cycles the way you count tire miles, and we’ll tell you what’s left on yours.
Lubricate the rollers, hinges, and springs with a silicone spray and the chain or screw drive with white lithium grease, as outlined in our Garage Door Repair Maintenance Checklist for Tarzana Homeowners. It takes ten minutes, costs under $25, and stretches the life of everything on the door. If you haven’t done it in six months, do it this weekend.
The Bottom Line
The honest answer to “DIY or pro?” is simple: if the part moves when the door moves, call a professional. If it doesn’t, go ahead and do it yourself. Lubrication, sensor alignment, remote programming, and weatherstrip replacement are safe, worthwhile DIY tasks that save you real money in Tarzana. Springs, cables, and bottom brackets are not. The stored energy in a torsion spring doesn’t care how handy you are, and the cost of a botched attempt always exceeds the cost of doing it right the first time. For everything else, call Otto’s Garage Door at (818) 431-2466. The name on the van is the name on the invoice and the name on the license. We’ve been serving Tarzana since 2004, and we’ll be here when you need us.
Written by Otto Reinhardt, Owner at Otto’s Garage Door, serving Tarzana since 2004.